All, Decorating, Home Decor
The Ultimate Guide to Candle Care
The Ultimate Guide to Candle Care
We’ve spent thousands of hours (maybe even Malcolm Gladwell’s famous 10,000) burning our favorite scents–and that’s exactly why we’ve painstakingly curated a selection of perfect picks for you in the Casa de Suna shop. There’s something for everyone, from the funky, unique and evocatively named DS&Durga options (Tuberose Myrrhder and Big Sur After Rain, anyone?) to the mindfully crafted calming Ferm Living options to the iconic Carola Fra i Trulli candles and beyond.
Candles are the ultimate “little luxury,” the perfect way to elevate a space at a budget that won’t break the bank. But, while there are tons of candles on the market, there’s still not a ton of information out there about how to properly care for them. And because we want to make sure you’re making the most out of every candle you purchase, we decided to curate a candle care guide for you.

Is there anything worse than purchasing a scented candle you’re obsessed with, only to realize the wax has already tunneled? If you’re unfamiliar with the term, you’re still probably familiar with the sensation: it’s the word for when you’re burning a candle and the wax becomes entirely uneven, creating a “pool” of wax and dramatically decreasing overall burn time (not to mention, it doesn’t look great). It’s the worst, but there’s good news: if you burn your candle properly from the start, that’s not going to happen.
Our number one tip for candle care: trimming wicks is an incredibly important, oft-forgotten step of candle care. Before your first candle burn, trim your candle wick down to ¼ to ⅛ of an inch. Every time you burn your candle, trim your wick afterwards as well (and not with your fingers or a scissor; you really should use a wick trimmer here). Not trimming your wick can lead to smoke, excessive flames.
Allow yourself 2-4 hours at home the first time you burn a scented candle (because we never leave scented candles unattended at home, of course). The exact amount of time you need will vary based on your candle size, but you can eyeball this as well. If it’s been at least two hours, and the wax looks like it’s melted evenly and there’s no pooling, uneven distribution, or wax sticking to the sides of the candles, then you should be all set to blow the candle out. This may seem tedious, but it will allow for maximum scent release–aka a more powerful, longer-lasting candle. Each subsequent burn should also last more than an hour, ideally two, and you should never burn candles longer than four.

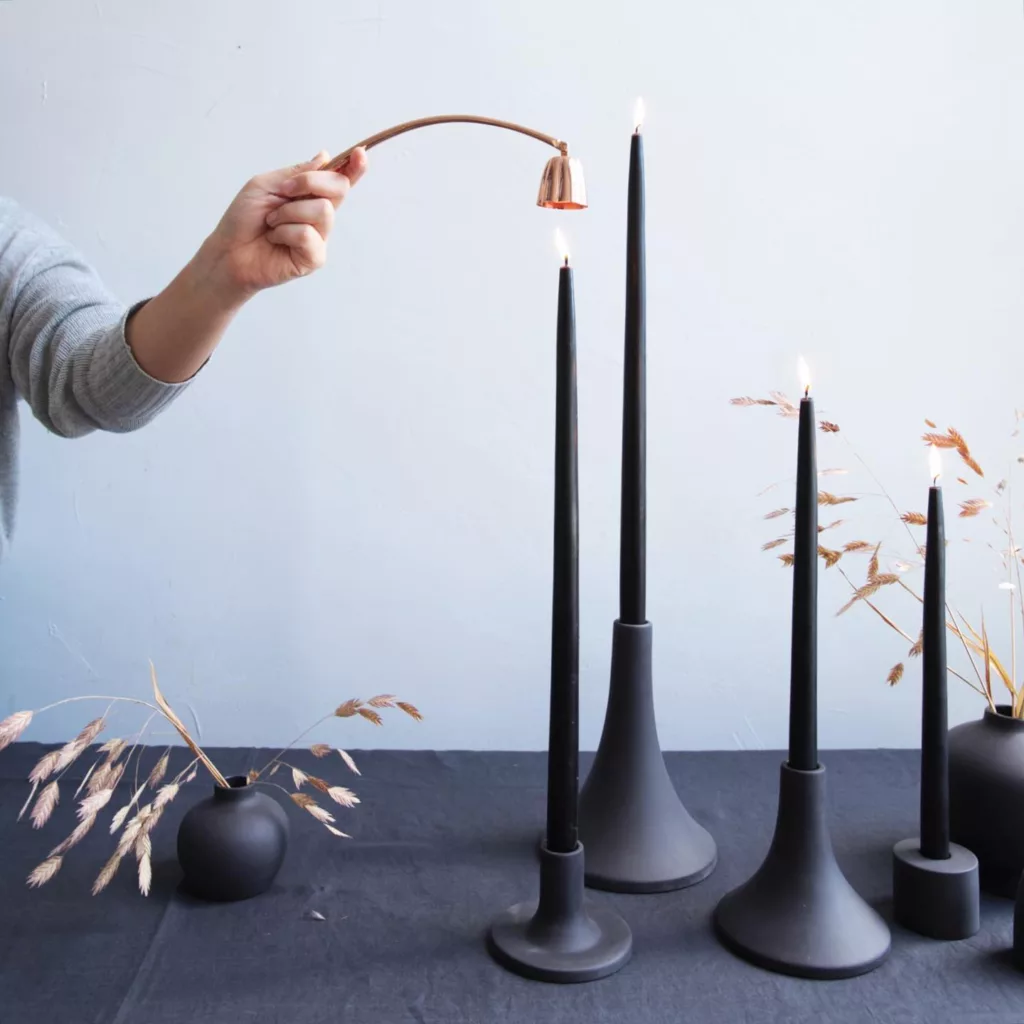
“How to blow out a candle” might not sound like something you thought you ever needed instruction on, but the reality is, there’s a proper way to do it–and you may not be doing it the proper way. Blowing out candles can create more smoke and soot (not ideal in a home environment), spray wax, and create an uneven distribution of wax in the vessel. Instead, use a candle snuffer (there are so many chic ones–and it makes a fantastic gift: our personal pick in that department is the Elsa Peretti snuffer, available at Tiffany & Co. stores). Just dip it slightly below the surface of wax, and pull it up until the flame has been extinguished. Snuffers are the type of thing you didn’t know you needed until you get one–and realize you can’t live without them.
When you purchase a candle, it will typically come associated with a “burn time” that indicates how long the candle will burn for (a large, scented candle typically has a burn time of 40-60 hours). When it comes to how long scented candles last before you burn them, the answer is, typically, years, but you can prolong their life by ensuring you store them properly.
We know you’re likely inclined to display all of our gorgeous candle vessels even before you’ve burned them, and we hate to be the bearers of bad news, but it can reduce the shelf life of your candle. Yes, scented candles last years, but to make them last as long as possible, you want to store them in a cool, dry place (i.e. a cabinet) in the vessel they came in (so, yes, you should keep the box). When candles are exposed to too much humidity, it can have a negative impact on wax quality.
Candle safety is always paramount: don’t ever leave a candle unattended. We know we mentioned it earlier, but it bears repeating: you’ll stop loving candles if you become the victim of a candle fire–and who wants that?
We know we’re not the only ones who can’t stand when glass candle vessels get tarnished, whether with fingerprints or soot (though hopefully no soot, if you’re properly following our tips). The fix here is simple: use a clean, dry microfiber or nylon cloth, like the one you’d use to clean a pair of glasses.
Here’s another question that sounds obvious: but honestly, the answer may surprise you. You should always leave a bit of extra wax in a candle, instead of burning to the very bottom of the wick. When there looks to be about a ½ inch of wax left, it’s time to bid the candle adieu.
Sometimes, despite your best efforts, a candle will still tunnel. Fear not: there’s a fix for this, too. Aluminum foil. Yes, you heard that right: aluminum foil is all you need to fix the pesky tunneling problems that can ruin even the nicest, fanciest candles you buy. Simply take a sheet of aluminum foil and wrap it around the edges of the candle (the aluminum should hang above – but not touch, be careful! – the tunneled areas, while leaving a space in the middle that allows the non-tunneled wax to continue to burn). Wait a couple of hours, and your candle should be good as new.

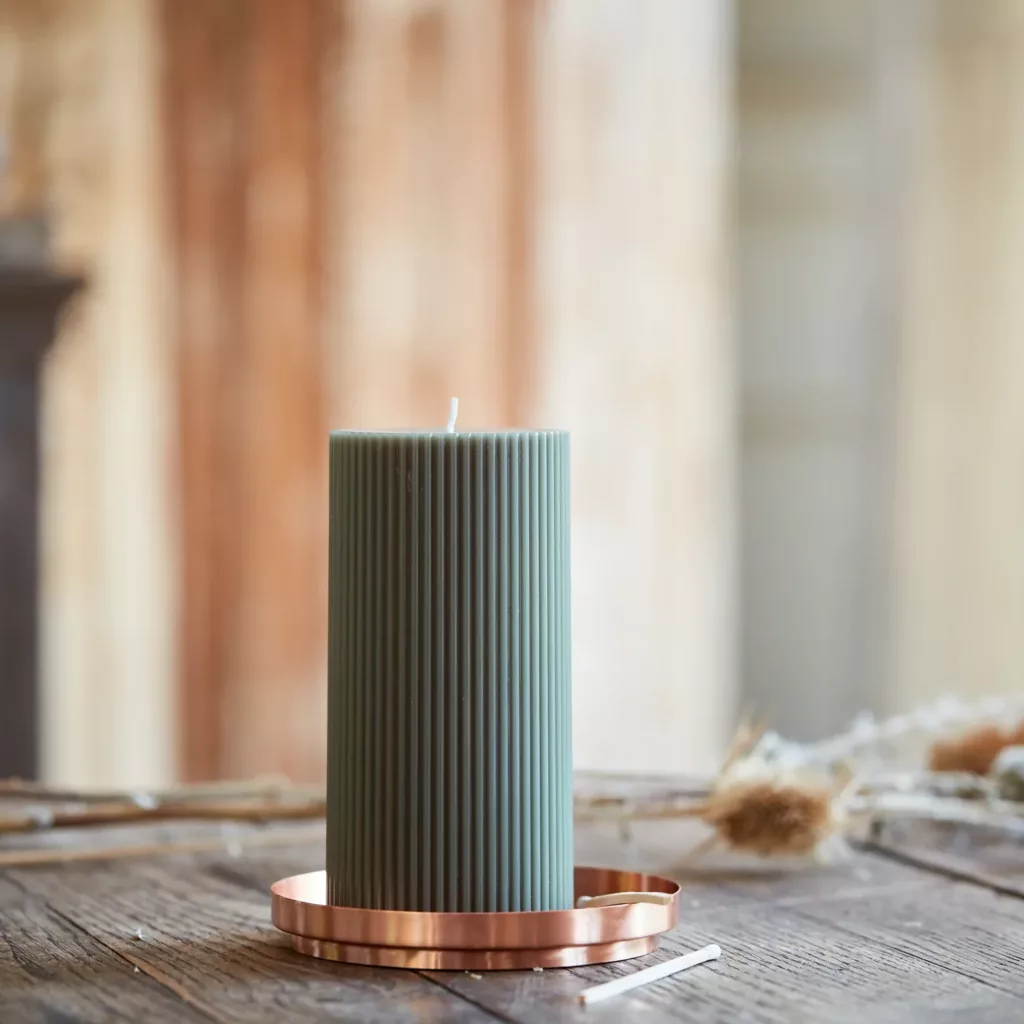
You know we love hosting dinner parties, so, while we’re obsessed with scented candles, there are a lot of other types we care about, too. We’re talking tapers, like these from Il Buco, pillars, like The Floral Society’s options, and votives, too. We like juxtaposing taper and pillar candles on a tablescape for any good dinner party, but there are secrets to burning them properly, just as there are with scented ones. When it comes to taper candles, you can take the same safety precautions you do for scented ones: ensuring they stay away from flammable objects. Also, do your best to avoid burning a taper near a billowing curtain–and it’s important to be mindful of the wind (or an air-conditioner) when it comes to outdoor dinners or eating with an open window, although, on a sturdy candlestick base, they should be safe from toppling over.
Taper candles (and pillar candles and votives, for that matter) follow the same storage rules as scented: keeping them in a cool, dry place in the box they came in is going to allow for maximum long-term impact when it comes to their burn time and overall quality.
Did you use any of our tips to transform the way you care for candles? Tag us on social media using #casadesuna.
Tell Us Your Thoughts